The Ultimate Guide to Making the Perfect Pie Crust with a KitchenAid Mixer: A Step-by-Step Recipe
#### IntroductionMaking a delicious pie crust can be a daunting task for many home bakers. However, with the right tools and techniques, you can achieve a f……
#### Introduction
Making a delicious pie crust can be a daunting task for many home bakers. However, with the right tools and techniques, you can achieve a flaky and flavorful crust that will elevate your pies to the next level. In this guide, we will explore the **KitchenAid mixer pie crust recipe** in detail, breaking down each step to ensure your success in the kitchen.
#### Why Use a KitchenAid Mixer?
Using a **KitchenAid mixer** for your pie crust offers several advantages. The powerful motor and mixing attachments allow for thorough blending of ingredients without overworking the dough. This is crucial for achieving a tender, flaky crust. Additionally, the mixer can handle cold butter and flour efficiently, ensuring that your crust maintains the right texture and consistency.
#### Ingredients for the KitchenAid Mixer Pie Crust Recipe
To make the perfect pie crust, you will need the following ingredients:
- 2 ½ cups all-purpose flour
- 1 cup unsalted butter, chilled and cubed
- 1 teaspoon salt

- 1 tablespoon sugar (optional)
- 6-8 tablespoons ice water
#### Step-by-Step Instructions
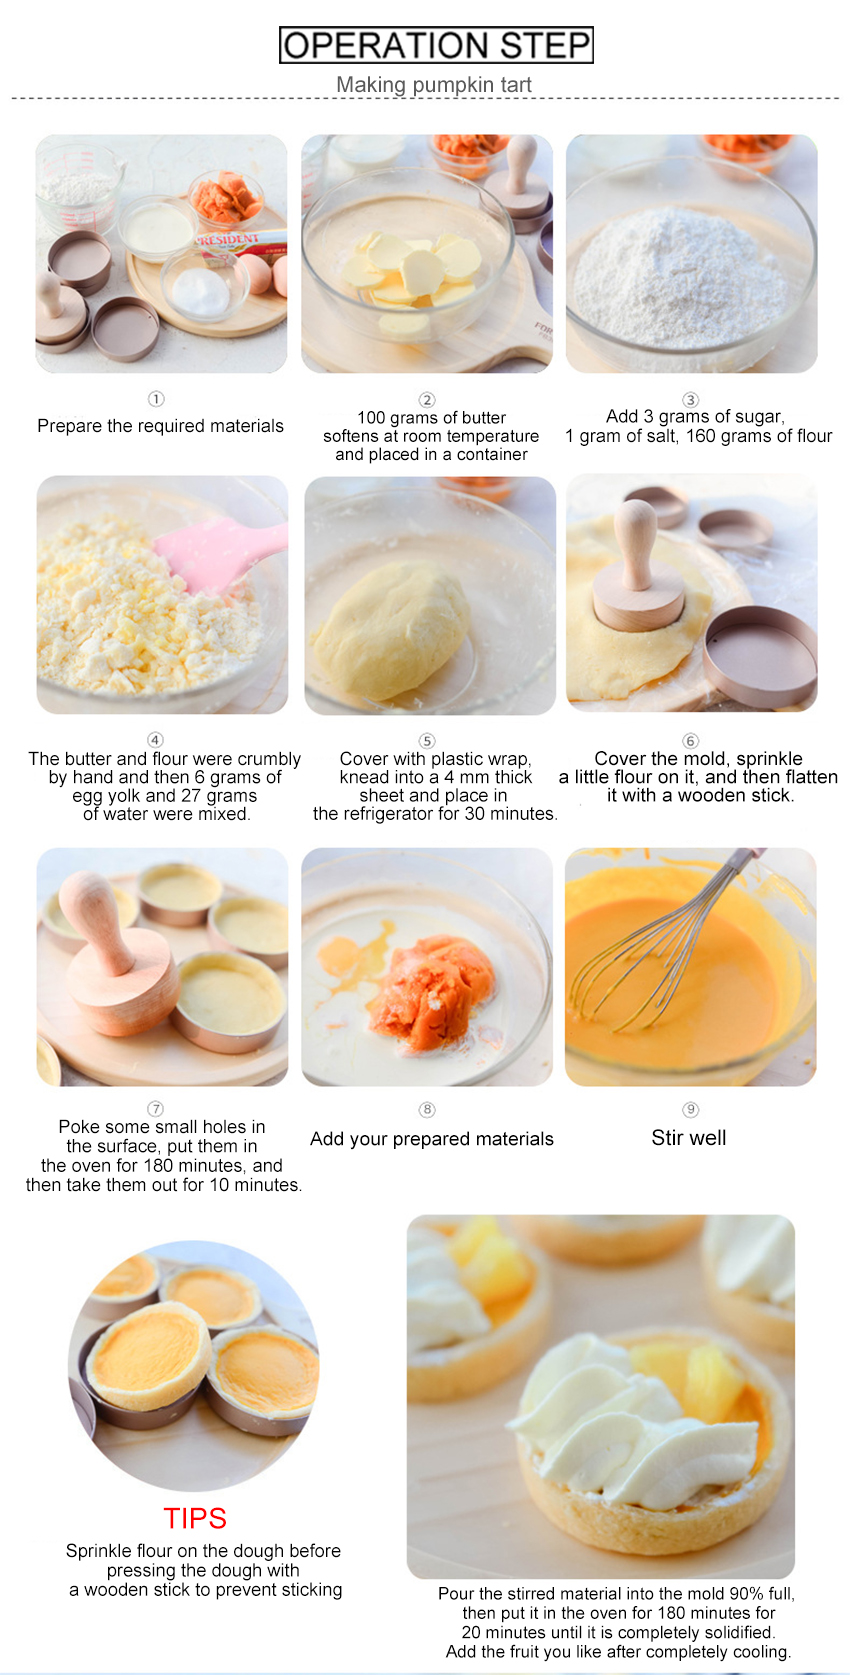
1. **Prepare Your Ingredients**: Start by measuring out your flour, salt, and sugar. Make sure your butter is chilled and cut into small cubes. This helps keep the butter cold, which is essential for a flaky crust.
2. **Mix Dry Ingredients**: In the bowl of your **KitchenAid mixer**, combine the flour, salt, and sugar. Use the paddle attachment and mix on low speed until well combined.
3. **Add Butter**: Gradually add the chilled butter cubes to the flour mixture. Mix on low speed until the mixture resembles coarse crumbs. Be careful not to overmix; you should still see small pieces of butter.
4. **Incorporate Ice Water**: Slowly add the ice water, one tablespoon at a time, mixing on low speed until the dough begins to come together. You may not need all of the water, so add it gradually until the dough holds together without being sticky.

5. **Form the Dough**: Once the dough is combined, turn it out onto a lightly floured surface. Divide it into two equal portions and shape each into a disk. Wrap the disks in plastic wrap and refrigerate for at least 1 hour. This chilling step is crucial for preventing shrinkage during baking.
6. **Roll Out the Dough**: After chilling, remove one disk from the refrigerator. On a lightly floured surface, roll out the dough to about 1/8 inch thick. Carefully transfer the rolled-out dough into a pie pan, pressing it gently into the edges.
7. **Pre-Bake (if needed)**: Depending on your pie recipe, you may need to pre-bake the crust. If so, preheat your oven to 375°F (190°C). Prick the bottom of the crust with a fork to prevent bubbling, then bake for about 15-20 minutes or until lightly golden.
8. **Fill and Bake**: Once your crust is ready, fill it with your desired filling and bake according to your pie recipe instructions.
#### Tips for Success
- Always use cold ingredients to ensure a flaky crust.
- Don’t overmix the dough; it should be just combined.

- If the dough is too crumbly, add a bit more ice water until it holds together.
- For extra flavor, consider adding a teaspoon of vanilla extract or a pinch of cinnamon to the dough.
#### Conclusion
With this **KitchenAid mixer pie crust recipe**, you can create a delicious and flaky pie crust that will impress your family and friends. By following these detailed steps and tips, you’ll be well on your way to mastering the art of pie-making. Enjoy your baking journey and the delightful pies that come from it!